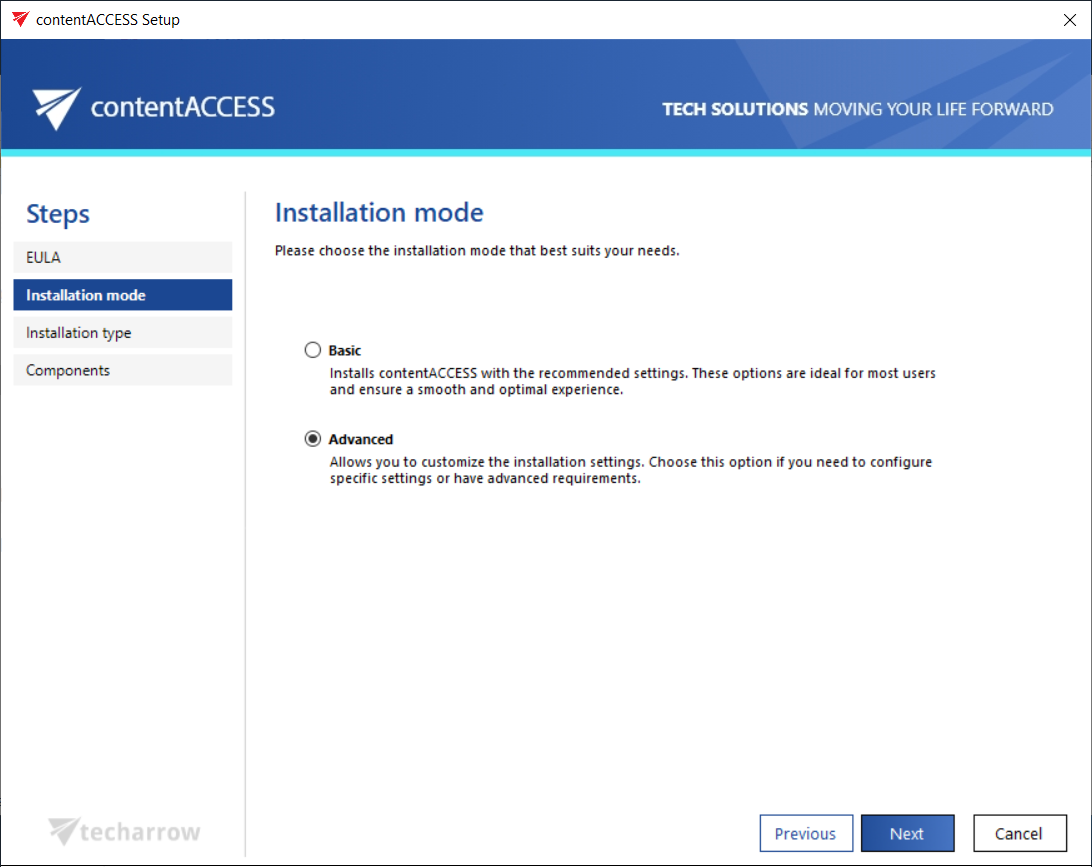
Advanced installation mode
The Advanced installation mode allows you to customize the installation by manually configuring each component on separate pages. This option is ideal for advanced requirements, providing full control over component selection, system checks, and detailed configuration before proceeding with the installation.
The Advanced installation mode consists of the following steps:
- Accept the terms on the EULA page.
- Select the installation type (this step appears only during the first installation).
- Choose the components you want to install.
- On the Prerequisites page, the wizard will check whether all software requirements are met. If any prerequisites are missing, they will be installed directly by the wizard during the installation.
- In the following steps, you will manually configure the components selected on the Components page. The configuration of these components will be detailed in the following subsections.
- Once you have completed the component configuration, you will proceed through the Overview and Installation steps, just like in Basic Mode, to finalize the installation.
Important: If the first install is performed in Basic mode, there is an option to switch to Advanced mode during an update. However, later on, the user will no longer be able to switch back to Basic mode. From that point forward, updates can only be performed in Advanced mode.
On the other hand, if the first install is performed in Advanced mode, there is no option to switch to Basic mode during the next (and first) update. The contentACCESS version must be updated in Advanced mode.