Installation of contentACCESS Outlook add-in
First, follow this guide to help you with installing contentACCESS.
Note: To use the add-in, the user must install the Outlook forms as well.
The following prerequisites should be present on the machine(s) where you want to use the Outlook add-in to make it work correctly:
- .NET 4.8
- Visual Studio 2010 Tools for Office Runtime 10.0.60724 (can be downloaded here)
Next, you need to go to C:TECH-ARROWcontentACCESS_PackageSetups or locate the folder to which you unzipped contentACCESS_Package when installing contentACCESS. Find and run the file with name contentACCESS.OutlookAddin_x64 (if using 64bit Outlook) or contentACCESS.OutlookAddin_x86 (if using 86bit Outlook).
Note: Outlook add-in is installed using an Administrator account and doesn't have to be installed for every user profile separately.
- Choose the language that you will be using – English or German.

- Click Next.
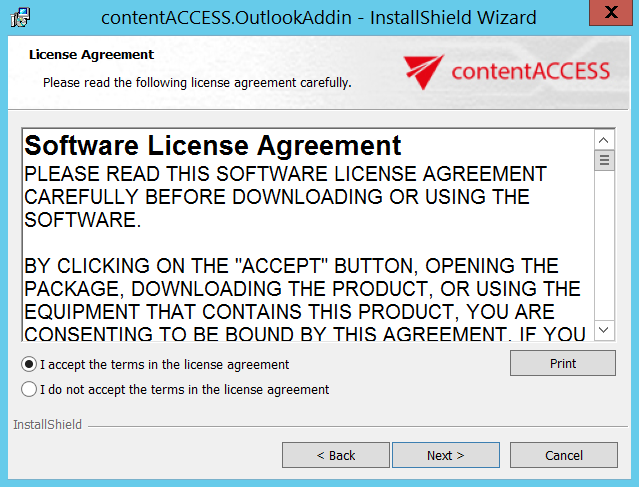
- Choose I accept the terms in the license agreement an click Next.
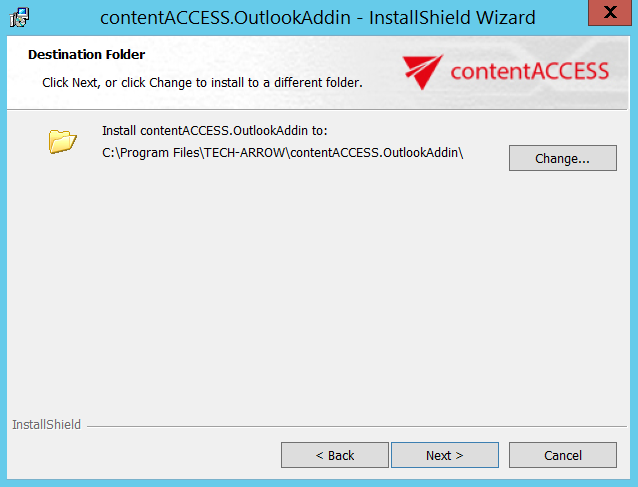
- Here you can choose the folder, to which Outlook add-in will be installed. We recommend to leave it like this. Click Next.
- Type the name of contentACCESS server you are using (in this case we used TACATEST05).
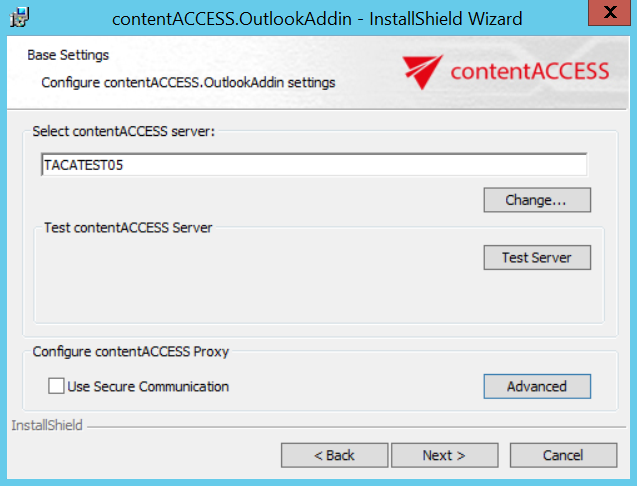
Click on Test Server. This will show you if the connection with contentACCESS server was established.

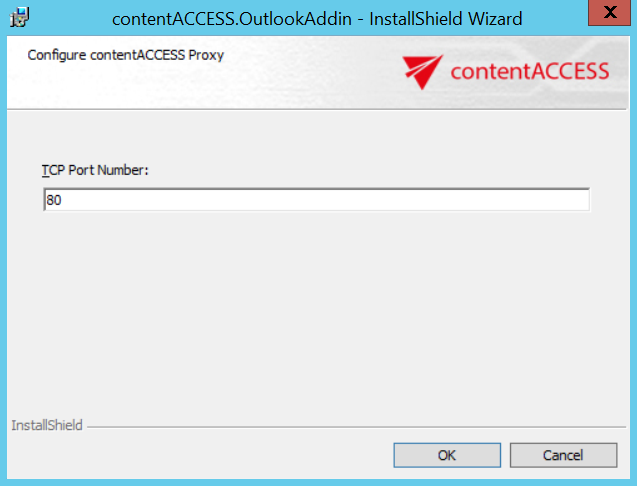
When clicking on Advanced, you can specify the TCP port number. If you check the Use Secure Communication option, the port number will be 443, if not, the port number will be 80. You can also specify a custom port number. Click on OK and then Next.
Note: These settings must match the settings that you used when configuring contentACCESS Proxy settings. So if you used HTTPS, then the option Use Secure Communication must be checked. If you specify a custom port number here, you also have to change it in System settings (System tab => Services group => System page, section External accessibility settings: Retrieve server FQDN) in the Central Administration, otherwise contentACCESS Outlook add-in won’t work.
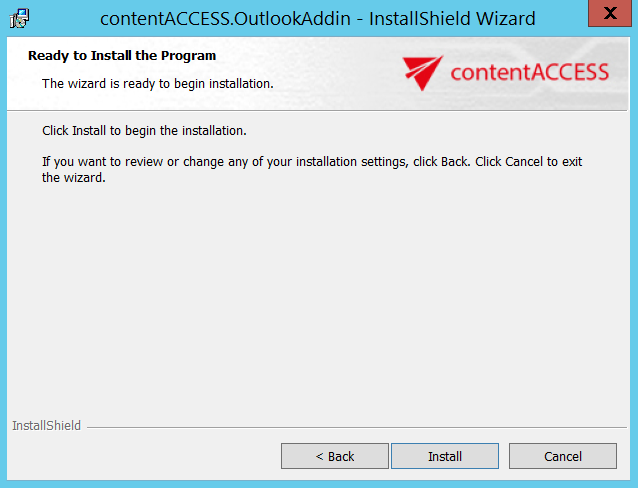
- Click on Install.
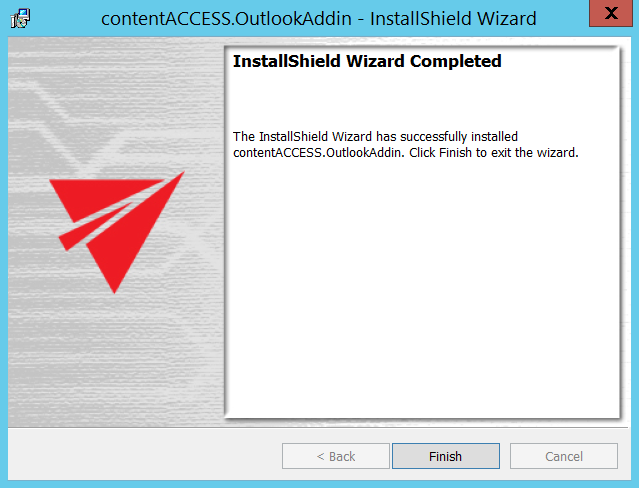
- Click on Finish to complete the installation process.
Note: If you have repaired or updated the contentACCESS Outlook add-in, always restart Outlook under each profile. The new features will be available only after Outlook restart.
Note: contentACCESS Outlook add-in can be also installed via silent installation. The silent installation command is:
contentACCESS.OutlookAddin.exe /v"USESECURE=1 CASERVER=”[SERVERNAME]” CASERVERPORT=”[CUSTOMNUMBER]” /l*v log.txt /qn
Parameters:
– USESECURE – with or without SSL
– CASERVER – contentACCESS server name
– CASERVERPORT – not mandatory, the defaults are the 80 (if USESECURE = 0) or 443 (USESECURE = 1) ports
– /qn is for the silent installation
– /l*v log.tx – logging
If nothing is defined, then setup will be installed with default values.